
Here’s the simple truth: you can't make real soap from scratch without lye. It’s just not chemically possible. But here’s the good news—you can absolutely make beautiful, custom soap at home without ever having to handle raw lye yourself. This is the key that opens up the world of DIY soap making to everyone, safely and creatively.
The Truth About Making Soap Without Lye
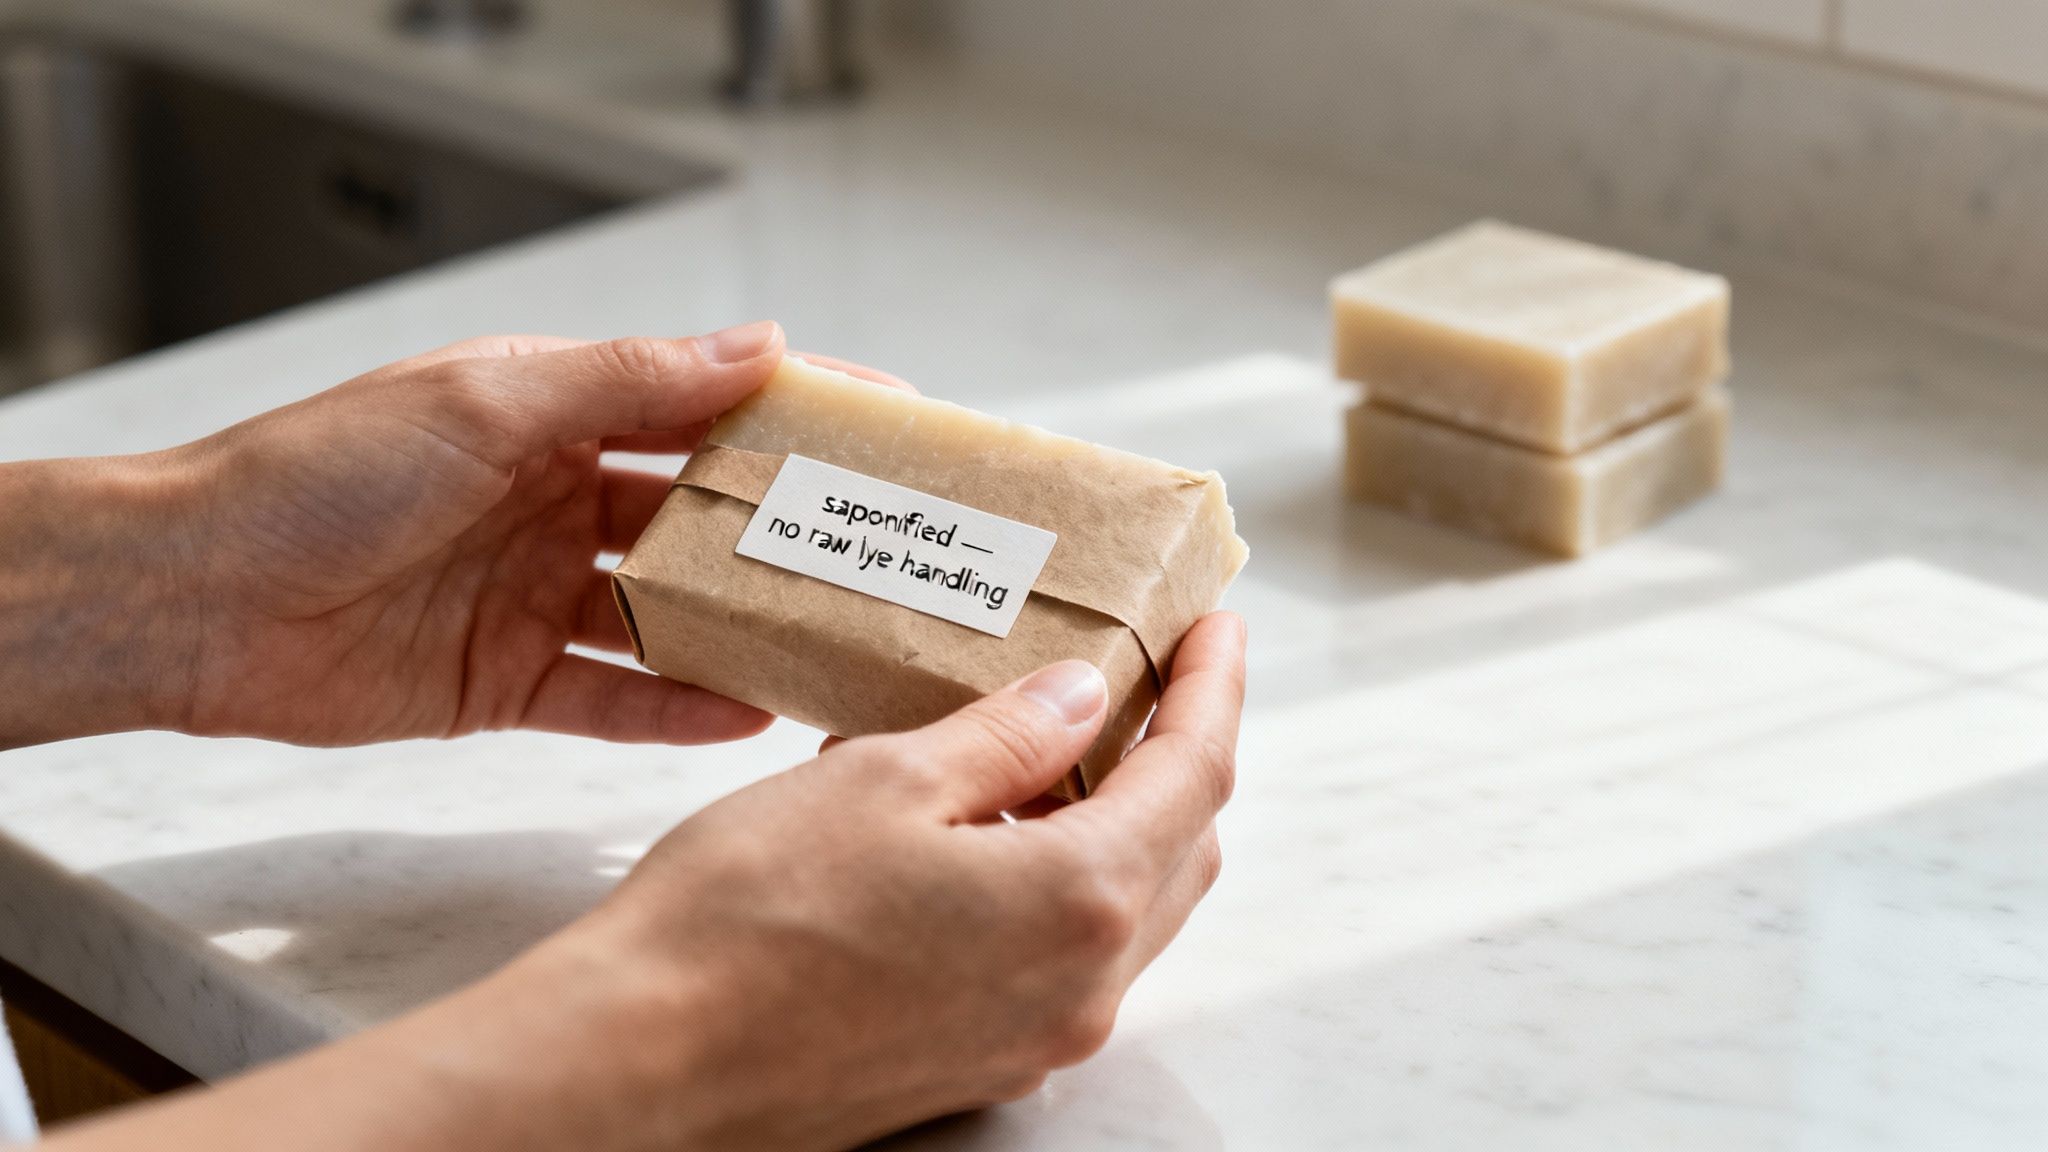
Let's be honest, the idea of using lye can be intimidating. It's a caustic substance that deserves a healthy dose of respect. The widespread confusion about "lye-free" soap comes from a simple misunderstanding of how soap is actually created. The magic all happens during a chemical reaction called saponification.
Think of it like baking a cake. You mix baking soda (a chemical leavener) into the batter. That baking soda reacts with other ingredients to create the light, fluffy texture we all love. But when you pull that finished cake out of the oven, is there any raw, powdery baking soda left? Nope. Lye works the same way in soap.
Saponification and Safety
When lye (sodium hydroxide) is carefully mixed with fats and oils, it kicks off the saponification process. This reaction completely transforms the original ingredients into two new things: soap and glycerin. In a properly made bar of soap, the lye is totally used up and neutralized.
This means zero lye is left in the final bar of soap, making it perfectly safe to use on your skin.
Any cleansing bar you see marketed as "soap" but made without an alkali like lye isn't technically soap at all. It's a synthetic detergent, often called a syndet bar, which cleans your skin in a completely different way.
The DIY methods we're about to explore let you skip the step of handling raw lye entirely. A professional has already done the tricky saponification part for you, creating a safe, ready-to-use soap base. You get to jump right to the fun part: melting it down and adding your own scents, colors, and botanicals.
To get a bit more technical, making true soap without a strong alkali to provide the necessary hydroxide ions is impossible. Modern soap makers use incredibly precise measurements to ensure every bit of lye is fully reacted, resulting in a safe and gentle final product. You can dive deeper into the chemistry of soap making and safety facts to see just how controlled the process is.
Understanding Saponification: The Magic of Soap Making
To really get why all true soap starts with lye, we need to peek behind the curtain at a beautiful chemical transformation called saponification. The name might sound like something out of a science textbook, but it’s actually more like kitchen chemistry than a complex lab experiment.
Think about it like baking a cake. You add baking soda to your batter, which kicks off a chemical reaction to make the cake light and fluffy. But when you take a bite of that finished cake, you don't taste any powdery baking soda, right? That’s because it was completely used up and transformed during baking.
Lye works in the exact same way. When lye (a strong alkali) meets fats and oils (which are acids), it triggers the saponification reaction. This process permanently changes the molecular structure of all the ingredients involved.
The Disappearing Ingredient
During saponification, the lye and oils are completely consumed, turning into two totally new things: soap and glycerin. That glycerin is a natural humectant that draws moisture to your skin, which is a big reason handcrafted soap feels so amazing.
Because the lye is fully neutralized in this reaction, there is absolutely no lye left in the finished bar of soap. The ingredient that was once caustic becomes a key player in creating a gentle, skin-loving cleanser.
This core process has been the foundation of soap making for thousands of years. Archaeologists in ancient Babylon found evidence dating back to 2800 BC showing that early civilizations were mixing animal fats with alkaline substances from wood ash to create the very first soaps.
This ancient practice drives home a timeless truth: lye, in one form or another, has always been the non-negotiable ingredient for turning oils into real soap. You can dive deeper into the historical ingredients and processes of soap making to learn more about its fascinating journey.
From Raw Ingredients to Gentle Soap
Understanding this transformation is the key to feeling confident about using handcrafted soap. Every artisan soap maker, from the hobbyist in their kitchen to larger companies, counts on the safe and predictable outcome of saponification.
The final product is proof of this magical change. The soap you use on your skin isn't a simple mix of oil and lye—it's the completely new, gentle substance they created together. Knowing this helps you look past an intimidating ingredient list and appreciate the final, safe, and wonderful bar in your hands.
Melt and Pour: The Easiest Lye-Free Method
If you want to jump into creative soap making without any of the stress, meet your new best friend: the melt and pour method. This approach is hands down the most popular and beginner-friendly way to make soap without touching lye, simply because a professional has already handled all the tricky chemistry for you.
Think of it like using a high-quality cake mix. The baker already measured the flour, sugar, and leavening agents perfectly. All you have to do is add the fun stuff like eggs and vanilla, then pour it into a pan to bake. Melt and pour soap works on the exact same principle. You start with a pre-made, fully saponified soap base.
What Is a Melt and Pour Base?
A melt and pour base is real soap that has already gone through the entire saponification process. A manufacturer has safely combined the fats, oils, and lye, letting it cure into a large, unscented block of soap. This means the lye is 100% neutralized before the base ever gets to your kitchen.
Your job is the fun part: melt this base down, customize it with your favorite scents and colors, and let it reharden in a cool mold. It's an incredibly safe and straightforward process, making it perfect for a few specific situations:
- Creative Projects: Want to experiment with wild designs, intricate layers, and vibrant colors? This method makes it easy.
- Crafting with Kids: Since there are no caustic chemicals involved, it's a fantastic and safe activity for families (with adult supervision for the hot liquid, of course).
- Personalized Gifts: You can whip up beautiful, custom bars of soap for friends and family in just an afternoon.
The whole process is incredibly fast. A finished bar is usually ready to use within a few hours, a huge difference from the four to six-week curing time needed for from-scratch cold process soap.
Pros and Cons of This Method
Like any craft, melt and pour has its own set of strengths and weaknesses. Figuring them out helps you decide if it’s the right fit for what you want to achieve.
The biggest win for melt and pour soap is that it offers maximum safety and creative freedom with almost zero technical skill needed. You can forget the safety gear like gloves and goggles and focus purely on the artistic side of soap making.
Here’s a quick breakdown:
Pros:
- Safety First: Absolutely no handling of raw lye or other caustic materials.
- Speed: Your soap is ready to use as soon as it cools and hardens. No waiting!
- Ease of Use: The process is as simple as it gets—just melt, customize, and pour.
- Creative Flexibility: Perfect for embedding little toys, creating stunning color layers, and using complex molds that other methods can't handle.
Cons:
- Less Ingredient Control: You can't pick the specific base oils or fats used in the recipe. You're starting with a finished product.
- Potential for Sweating: Glycerin, a natural and wonderful humectant in soap, can draw moisture from the air. This can cause little beads of "sweat" on the bar's surface if it isn't wrapped up properly.
- Limited Additives: Not all fresh ingredients, like fresh milk or fruit purees, play nicely with a pre-made base. They can sometimes affect the soap's stability or shelf life.
Ultimately, melt and pour is the ideal gateway into the world of soap making. It lets you explore your creativity and produce gorgeous, functional bars of soap, answering the question "can you make soap without lye" with a loud and practical "yes."
Exploring Rebatching and Other Creative Alternatives
If you love the idea of customizing your soap but aren't quite ready to handle lye, rebatching is your perfect creative partner. Think of it as upcycling a pre-made soap into something uniquely yours. Also known as hand-milling, this method gives you way more control than melt-and-pour without any of the risks of starting from scratch.
You begin with a plain, unscented bar of cold process soap. Since it has already gone through saponification, all the lye has been neutralized. The fun starts when you grate the bar down, just like you would a block of cheese, and gently melt the shreds over low heat with a bit of liquid. This is where you can really let your creativity shine by adding things like nourishing goat's milk, soothing herbal teas, or hydrating aloe vera juice.
The real beauty of rebatching is its gentle, low-heat process. This means you can add delicate ingredients that would otherwise be destroyed in the high-heat, high-pH environment of from-scratch soap making. It’s the perfect time to mix in rich shea butter, precious essential oils, or even finely ground botanicals that would normally discolor or burn.
This simple diagram shows how rebatching and melt and pour are the two main paths for crafters who want to avoid handling lye directly.
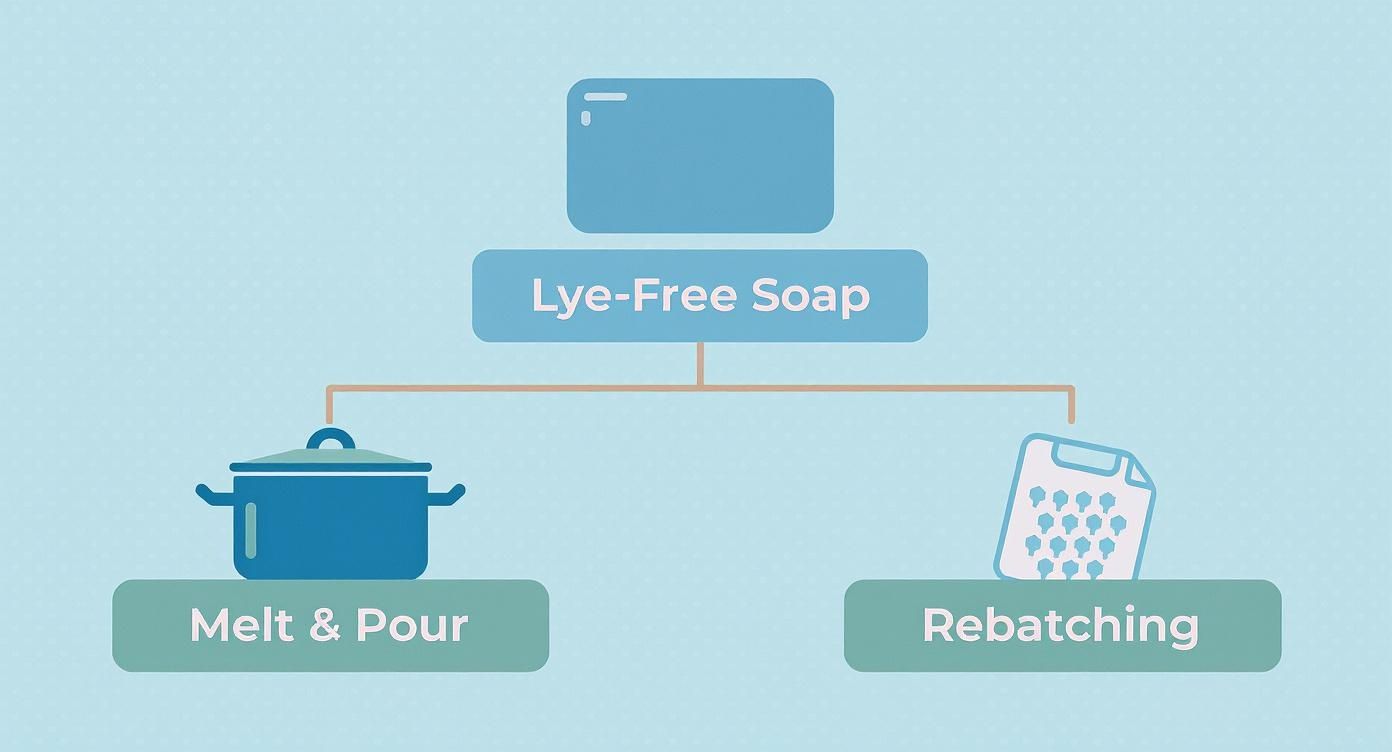
As you can see, both methods rely on a base that has already completed the saponification process, letting you skip the hazardous steps and jump straight to the artistic part.
Syndet Bars: A Different Approach to Cleansing
There's another popular player in the lye-free world that isn't technically soap at all: the syndet bar. The name is a mash-up of "synthetic" and "detergent," and it's a completely different kind of cleanser.
Unlike true soaps made from oils and lye, syndet bars are crafted from a blend of mild, synthetic surfactants. These cleansers are engineered to have a pH level much closer to our skin's natural state, which sits around 4.5 to 5.5.
Because they are pH-balanced, syndet bars are often the top recommendation for people with very sensitive skin or conditions like eczema and rosacea. They clean effectively without stripping the skin's protective acid mantle.
So, while you aren't "making soap" in the traditional sense, crafting a syndet bar is a fantastic lye-free alternative. It’s a modern, science-backed solution for anyone who finds even the gentlest true soaps a little too harsh for their skin.
Comparing Your Creative Options
Choosing the right lye-free method comes down to what you want to achieve. Each one offers a different experience and result, so let's break them down.
Here’s a quick comparison to help you decide which path is right for your project.
Comparing Melt & Pour, Rebatching, and Syndet Bars
| Feature | Melt & Pour | Rebatching (Hand-Milling) | Syndet Bars |
|---|---|---|---|
| Ease of Use | Easiest (Beginner-friendly) | Intermediate | Intermediate (Requires precise measurements) |
| Creative Control | Limited (Colors, scents) | High (Can add butters, milks, botanicals) | High (Full control over surfactants & additives) |
| Final Texture | Smooth, professional look | Rustic, often lumpy | Smooth, firm, commercial look |
| Best for… | Kids, parties, quick projects | Crafters wanting custom ingredients without lye | Very sensitive skin, pH-balanced needs |
| Lye Handling? | No | No | No |
Ultimately, rebatching offers a rustic, handcrafted feel with lots of room to add nourishing extras. Syndet bars provide a scientific approach focused on creating the gentlest bar possible. Both are brilliant ways to make custom cleansing bars at home without ever having to touch raw lye.
When picking your scents, it helps to understand the differences between fragrance oils and essential oils for crafting, as this choice affects both the final aroma and how the bar interacts with your skin.
Choosing The Right Method For Sensitive Skin
When your skin is sensitive, picking the right cleanser isn't just a matter of preference—it's essential. The ingredients list becomes your roadmap to comfort. Thankfully, the lye-free methods we’ve talked about put you in the driver's seat, letting you craft a soap that calms and supports your skin's unique needs.
Take the melt and pour method, for example. You can deliberately choose bases that are free from common troublemakers like Sodium Lauryl Sulfate (SLS). Once you've got a gentle base, the fun begins. You can stir in skin-loving goodies like colloidal oatmeal, manuka honey, or calendula extract to create a bar that’s truly personalized and soothing.
Tailoring to Your Skin's Needs
The rebatching method gives you even more control, which is fantastic news for sensitive skin. Its biggest advantage is the low-heat process. This means you can add delicate, nourishing ingredients that would break down and lose their punch in the high heat of from-scratch soapmaking. This is where ingredients like fresh goat's milk or pure aloe vera really get to shine.
- Goat's Milk: Famous for its high fatty acid content and gentle proteins, goat's milk is a superstar for hydrating and calming irritated skin.
- Aloe Vera: This plant is a household name for its soothing properties, making it an incredible addition for skin prone to redness or dryness.
Because you’re working with a soap that has already gone through saponification, these delicate ingredients are never exposed to the harsh alkaline environment of raw lye.
For those dealing with chronic conditions like eczema or rosacea, dermatologists often point toward syndet bars. These aren't technically soap. They are "synthetic detergent" cleansers formulated to have a pH that matches the skin's natural acidity, which hovers around 5.5. This helps protect the skin’s delicate moisture barrier, preventing the very dryness and irritation that traditional soaps can sometimes trigger.
The core idea of soapmaking—combining an alkali with fat—has evolved dramatically. An early industrial method called the Leblanc process, developed around the 1790s, was a game-changer, producing 320 tons of soda ash per year and paving the way for large-scale soap manufacturing. Despite these massive leaps in production, the basic chemistry hasn't changed; it still requires those crucial hydroxide ions from an alkali like lye.
Whether you're carefully selecting a melt-and-pour base or stirring fresh goat's milk into a rebatched soap, understanding your options is the first step. It empowers you to create a bar that works with your skin, not against it.
Deciding Between DIY Soap and Artisan Bars
Now that you know what's possible, you've reached the final fork in the road: should you make your own soap or buy it from a pro? There’s no single right answer here. It really comes down to your goals, how much time you have, and what you truly want out of your skincare.
Making your own soap with a melt-and-pour or rebatch base is a fantastic way to dip your toes into a new hobby. It puts you in the driver's seat, letting you craft personalized gifts, dodge specific allergens, or just feel the pride of making something with your own two hands. For many, it's also a step toward embracing a zero-waste lifestyle by cutting down on all that plastic packaging.
When to Choose DIY Soap Making
Going the do-it-yourself route is a perfect fit for a few reasons. You should probably give it a try if:
- You're looking for a creative outlet. Soap making is pure artistry. You get to play with endless combinations of colors, scents, and fun additives like herbs or exfoliants.
- You need to sidestep specific allergens. When you control every single ingredient added to a soap base, you can guarantee the final bar is 100% safe for your skin.
- You're crafting gifts or party favors. Honestly, is there anything more thoughtful than a handmade gift? DIY soaps are perfect for birthdays, holidays, and even wedding favors.
But as great as these methods are, buying soap from a skilled artisan is often the better move if you’re after the unique skin benefits of a true, from-scratch cold process soap.
The Case for Buying Artisan Soap
While the easy DIY methods are a blast, they just can't quite replicate the magic of a soap made from the ground up. Buying from a professional soap maker is the way to go when:
- You want superior skin conditioning. There’s a noticeable difference. Artisan soaps made with the cold process method have a richer, more luxurious feel because the maker hand-selects every oil and butter for its specific skin-loving properties.
- You want to skip the setup costs. Making soap from scratch isn't just about ingredients; it requires dedicated equipment like digital scales, stick blenders, proper molds, and safety gear.
- You value an expert's touch. Experienced soap makers are like chefs who have spent years perfecting their recipes. They know how to create a bar with the perfect balance of cleansing power, creamy lather, and deep moisturizing properties.
In the end, you can't go wrong. Your choice simply balances the hands-on joy of a personal project against the expertly crafted quality you get from a professional's passion.
Got Questions About Lye-Free Soap? Let's Clear Things Up
Diving into the world of soap making brings up a few key questions, especially around the topic of lye. Let's tackle some of the most common points of confusion so you can move forward with total confidence in your creative projects.
Is Melt and Pour Soap Considered Real Soap?
Yes, absolutely. A melt and pour base is 100% real soap that has already gone through the complete saponification process. A professional manufacturer handles the tricky part—safely mixing fats, oils, and lye to create a stable, finished soap block.
When you use a melt and pour base, you’re just remelting this finished soap to add your own creative spin. Think of it as a clever shortcut that lets you skip handling raw chemicals while still working with a genuine, high-quality soap.
Are Soaps Labeled "Lye-Free" Actually Made Without Lye?
This is a great question, and the answer is a little nuanced. No true soap can be created without lye; it's the essential ingredient that kicks off the chemical reaction called saponification. When you see a product labeled "lye-free," it almost always means one of two things:
- The lye was completely used up during saponification. In a properly made bar of soap, there is zero lye left in the final product you use. This is true for all handcrafted soaps, melt and pour bases, and rebatched bars.
- The product isn't technically soap. It might be a synthetic detergent bar, often called a "syndet" bar, which is made from different chemical compounds altogether.
So, that "lye-free" label is really a marketing term to reassure you that the final bar is perfectly safe, not that lye was magically absent from the entire process.
The key takeaway is simple: if it's true soap, lye was involved at the start. If no lye was ever involved, it's a detergent. Both clean your skin, but they are chemically different.
Can I Make a Safe Lye Substitute from Wood Ash?
While it’s true that people historically made lye by leaching water through hardwood ashes, this method is extremely inconsistent and unsafe for modern soap making. It’s impossible to accurately measure the concentration of lye you get from ash, which creates a huge safety risk.
This wild guesswork can result in a soap that’s either a greasy, oily mess or, much worse, dangerously caustic and capable of causing severe skin burns. For safe, beautiful, and reliable results, you should only use commercially produced, cosmetic-grade lye if you ever decide to try making soap from scratch.
What Is the Difference Between Soap and Detergent?
The main difference comes down to their chemical origins. Soap is made from natural fats and oils (like olive oil or tallow) that have reacted with lye. Detergents, on the other hand, including those in syndet bars, are synthetically created from petroleum or various plant-based sources using a completely different chemical process.
While both are great at cleaning, they interact with skin differently. Soaps typically have a higher, more alkaline pH. In contrast, syndet bars are often formulated with a lower, more acidic pH that’s closer to our skin's natural state. This is why they are frequently recommended for people with extremely sensitive skin conditions.
At The Goats Field, we've already done the hard work for you. Our handcrafted goat milk soaps are made using the traditional cold process method, ensuring all lye is fully saponified. What's left is a gentle, nourishing bar that's safe for the whole family. Discover the farm-fresh difference and find the perfect bar for your sensitive skin at The Goats Field online store.